FREE SHIPPING WW ON ORDERS OVER $99 USD
FREE SHIPPING WW ON ORDERS OVER $99 USD
PLANES
BUNDLES
ACCESSORIES
EDUCATORS
The Balsa Wood glider factory - an awesome story to tell.
Copied from Kickstarter update #11
I am happy to share with you the back-scene story of how Brad from NightHawk Gliders has pulled off a major mass production effort from his home during the Covid19 crisis: what an inspiring story:
So as Brad said to me (his own words)- Grab a cup of Java and enjoy!
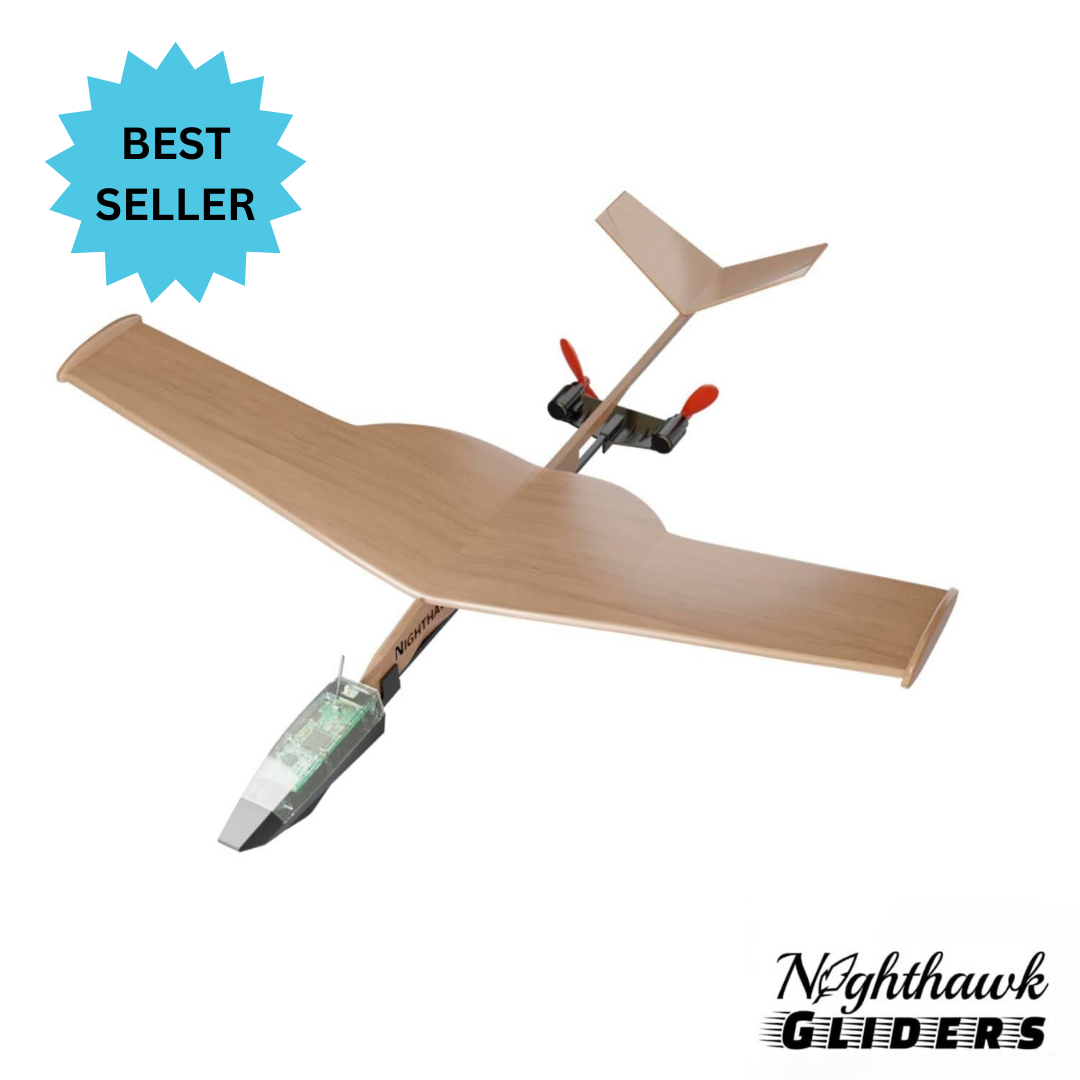
"In mid January, we began prototyping some Balsa wood models for the PowerUp 4.0 and had decent enough weather to test some variations on our Tornado 12 catapult launched glider. We added some wing area to help with lift and modified the fuselage for properly mounting the PowerUp module underneath.

We settled on the name “Tornado Updraft” by merging Tornado and PowerUp— and we’ll, since Updrafts provide lift, it seemed fitting to call it that.
Our original designs had a shorter nose. It flew alright, but we noticed the airplane had a tendency to roll left and right. We experimented by sliding the PowerUp forward on the fuselage and it flew much better. We also had much larger flaps in our early models giving the airplane much more wing area. But, we dialed that back and settled on a wing design that was both functional and aesthetically pleasing. We also played around with the flaps and glued them down, but in the end, the Tornado Updraft performed better by just leaving the flaps alone.
By increasing the turning radius speed on the PowerUp app, we had a zippy little flier! We were very happy with the results and felt confident this would be a great model for The PowerUp 4.0.
We sent a model to Shai and he got a chance to fly it and he was quite pleased with how well it performed! Shai sent out his Kickstarter survey and we got a fantastic response! We got an order for 2,800 of these! Yikes!
Now, we’re off to the races...
My first order of business was to check with my balsa supplier and confirm if they could meet our demand. Not only did they say they could not, but they also said, “nobody could because there is a world-wide balsa shortage!”
Ok, after breathing into a paper bag for a while I regained my composure and secured a couple other suppliers who can help me out. I had to acquire quality product and cost is becoming a less of a concern. I ordered some to get me started. The problem with balsa is that most suppliers will give you a sheets of varying weight— so I have to order more and weed out what I can’t use for my project. One supplier can select by weight for you, but with a substantial up-charge. Ouch!
So the balsa arrives... the most I have ever seen!
And this is NOT all of it! Oh boy! I also ordered my first batch of basswood sticks.

My process is weigh/inspect each sheet and get an idea for weight distribution. If it’s too light it’ll have to be shelved— maybe used for catapult gliders. Too heavy, and it’ll be scrapped or become something else.

These sheets are 36” long. But only those within the right weight range will be cut down into three 12” sheets. These will be the wing blanks.
To speed up cutting, I felt a jig was in order. Here I can slide in my sheet and use my ruler as an edge to my razor knife. Yup, it worked well until I cut a couple hundred sheets. Then, this was getting ridiculous!

Often, I will make due with what I have on hand, but now was time for power tools! A cheap little jig saw, but functional. (Much better!)

Each 12” wing blank is inspected again and sorted by weight. This is so I can run them thru my laser cutter and have better control of cutting “temperature” as I progress thru the sheets.
Here are 2000 wings and I have 800 more to go!

Shai was interested in having the PowerUp logo placed underneath the wings. This is actually kind of challenging— not to mention adds to production time. Also, I only had one laser cutter. So, I had concerns about bottlenecking my process. We agreed to do one logo per wing as a compromise instead of two.

Ok, time for a new (inexpensive) laser cutter! Parallel processing, baby!

Everything about the products, the instructions, the plans, and the packaging is all home grown here at Nighthawk Gliders.
For the instructions, I had to set up my “photo studio” and take all the photos to illustrate each step of the build. A couple apps on my phone helps me process the images to get the look I like.


It take a quite a long time to get them all right. Proper lighting and shadows makes a big difference in the final results. After pulling all the images on my Mac, I can compose my instructions. It took me weeks to produce the document before I could print it.
Once I printed a sample instruction and noticed the images all came out blurry! What’s up with that? I later realized my error in how I saved the file and I had to reprocess each image all over again. Ugh, more time wasted!
Now, for the packaging, I had concerns about the fragile balsa contents. We sell our catapult glider kits in a bag wrapped by the instructions and one end of the balsa is uncovered. My instructions are 32lb paper and not stiff enough to protect it from warehouse handling and re-packaging. Plus we wanted to package the sanding block with the kit to save on warehouse picking charges. I believed some card stock was necessary. But how?
Here was one attempt at having a card stock insert and folding it to keep glue and block separate. But, we ditched this idea.

Instead, I was hoping for a box, instead. I took full sheet of 11x17 card stock and created a full box. It worked great, but it was a bit much. So, I figured a way to use 1/2 the paper, I cut the sheet longways and created a box-tray! Pretty cool!

To help PowerUp in their packaging/shipping, our final package will give the sanding block some “space” away from the tray.
When I printed these at FedEx Office, I used their handy-dandy cutter! So helpful! And a bit of balsa place on board made cutting so much faster and easier!

This is going to be awesome, but there is one big issue with this... and that’s the folding. Oh, my gosh, the folding!!! 100lb card stock is not easy to fold. Seems like we needed another tool, so Bruce and I made this deadly contraption! (See the razor blades?)


This is a box press/cutter. You just insert the sheet and press down.
Presto! Wow, this actually works! (Well, sort of...)
After trying a number of these we got horribly inconsistent results. It turns out, the paper wants to rip more than actually cut. Argh! Back to the drawing board!
I was desperate for wood with rounded edge, so I chopped up a bunch of sanding blocks. I also hacksawed some metal BBQ skewers and framed my press.
Just insert the sheet between these bad boys and press! Woohoo! Success! (Well, sort of...)
Unfortunately, my crude construction was not as flat as it should have been. Certain areas we’re not being pressed deeply enough. Plus, I used lousy wood for this and it bowed a bit. ☹️
I changed out the bottom part of the press by gluing hard balsa on a different sheet of wood to be a better, flatter, more crispy reciprocal to the press.


If it has crossed your mind we are insane here at Nighthawk Gliders, let me ensure you—- YES, we are.
And the insanity does not end here—
We had to send 7000 sheets of paper thru the printers. (Not counting 750 sheets I accidentally printed of the wrong file! Oops, another costly blunder). For 2800 kits, that’s 330lb (250kg) of just paper. Wow!
So, needless to say, 2800 plans and 2800 instructions need to be folded as well. Who does that?

well, when your son is home from college because schools closed due to the coronavirus, you gotta give him a job! Am I right? He got the brilliant idea to wear knit gloves (even though they don’t match) saving him a number of blisters and paper cuts. I’ll concede to the fact he is now smarter than me. Circle of life!
My brother Bruce, well, he has his own insanity In the world of making the sanding blocks! He delivered about 1000 to me right here.

These are complete— and have the PowerUp logo on them! Fun!

Bruce is about to cut some more boards down to size so he can fit them in his car. Once home, he’ll cut to size, route the edges and apply the sandpaper.

The sandpaper cutter is a clever tool Bruce devised to help him roll out and quickly measure and cut the pieces.

This is sticky-back sandpaper, that fits nicely in the blocks. But to ensure it stays on, Bruce dabs on a few drops of super glue to make it stick better.
And speaking of super glue, we had to settle in the best brand out there. Each kit will get a tube of Gorilla brand super glue! It’s what we use and highly recommend it! (A non-sponsored promotion right here.)
Recently I bought 1,100 packages to complete the amount I needed for this order. I cleaned out all the warehouses of my supplier! My UPS driver knows the drill— a daily task of dropping boxes off at my garage for next few days.

It seems most of what was available were these display cases. Lol. Only 30 packages in this one and perhaps a bit wasteful... too bad Gorilla could not have sold to me directly! I think the case is neat, though.

All of these need to be opened— another job for my kids, I think.
Anyway, we press on here at Nighthawk Gliders.
The fuselages are being cut and the wood for the tails has just shipped. Hopefully after that, we’ll have all that we need to finish the job. And then, we have to package and seal them. Oh boy!
Wish us luck!
Your friend in flight,
Brad Williamson
Nighthawk Gliders LLC"
I want to take the opportunity again to thank Brad and his family for sharing their journey, this is truly inspiring!
Be sure to visit Brads website here
Recent Articles
- The World’s Longest Paper Airplane Flight: How to Break a Record
- Why Paper Airplanes Make the Perfect Christmas Gift
- POWERUP 2024 Halloween Contest
- POWERUP Instagram Follower 10K Giveaway!
- A quick history of the paper airplane
- POWERUP School's Out Challenge
- Soar High with Mom: Why POWERUP Is the Perfect Mother's Day Activity
- POWERUP WINTER CONTEST: Most Creative Design
- Easter Joy with POWERUP 4.0: The Ultimate Gift for the Season
- Introducing the PowerUp F22 Raptor® RC Airplane


